
Table of Contents
- Getting Started: Basic iPad Setup for Seniors
- Configuring Biometric Authentication and Security
- Assistive Access iPad Setup for Simplified Navigation
- iPad Accessibility Settings for Elderly Users
- How to Simplify iPad Home Screen and Dock
- Best iPad Apps for Seniors and Daily Use
- Managing Notifications and Restricting App Access
- Protecting Your iPad and Getting Help When You Need It
- Frequently Asked Questions
Last Updated: September 23, 2026
Getting Started: Basic iPad Setup for Seniors
Learning how to set up iPad for seniors requires patience and clarity. At TonyV's Tech Repair, we understand that learning how to set up an iPad for seniors requires patience and clarity, the most common mistake is rushing. Take your time with the initial steps, and the rest becomes manageable.
Turning on your iPad and connecting to Wi-Fi
Press and hold the power button until the Apple logo appears (10-15 seconds). Once booted, you'll see the "Hello" screen. Swipe up from the bottom to proceed.
When the Wi-Fi selection screen appears, find your home network and tap it. Enter your password carefully, passwords are case-sensitive. A Wi-Fi icon in the top-left corner confirms your connection is active.
If your network doesn't appear, ensure your router is powered on and in range. If problems persist, restart the router by unplugging it for 30 seconds.
Creating or signing into your Apple account
An Apple ID is essential for downloading apps, backing up data, and using FaceTime. If you already have one, select "Sign In" and enter your email and password.
To create a new Apple ID, select "Create a Free Apple ID." You'll need a valid email and a strong password (write it down securely). Apple will send a verification code to your email, enter it on your iPad to complete verification.
Apple will ask about iCloud services. iCloud automatically backs up your data, photos, contacts, and calendar events. Enable it, if your iPad is lost or damaged, your information remains safe in the cloud.
Configuring Biometric Authentication and Security
Biometric authentication using your face or fingerprint offers security and convenience without remembering complex passwords.
Setting up Face ID or Touch ID
To set up Face ID, go to Settings > Face ID & Passcode and tap "Set Up Face ID." Position your face in the frame and move your head in a slow circle. The process takes about 30 seconds.
For Touch ID, go to Settings > Touch ID & Passcode and tap "Add a Fingerprint." Place your finger on the home or side button and hold it. Repeat until the system captures your fingerprint pattern. Most people add their thumb and index finger.
Create a strong passcode as a backup. Avoid obvious sequences like 123456 or your birth year. Choose something meaningful but difficult to guess.
Enabling two-factor authentication
Two-factor authentication adds an extra security layer (Two-factor authentication for Apple Account). Even if someone learns your password, they cannot access your account without a second verification method. Go to Settings > [Your Name] > Password & Security > Two-Factor Authentication and toggle it on.
Apple sends verification codes to trusted devices or phone numbers. When signing into your Apple ID on a new device, enter the code sent to a trusted device to complete sign-in.
For seniors, registering a trusted phone number is essential. If you lose your iPad, you can still receive verification codes on your phone, ensuring you maintain access to your Apple ID and your backed-up data.
Assistive Access iPad Setup for Simplified Navigation
Assistive Access simplifies the interface by removing clutter, enlarging text and buttons, and focusing on essential functions. It's ideal for seniors with cognitive concerns or those new to technology.
To enable Assistive Access, go to Settings > Accessibility > Assistive Access and toggle it on. The home screen redesigns to show large, clearly labeled buttons for Phone, Messages, Photos, Camera, and other core apps with simple language and high contrast.
Customize which apps appear by tapping "Customize Home Screen." Add apps for video calls, photos, weather, or news. Remove anything unnecessary.
Assistive Access simplifies the Control Center to show only essential toggles (Wi-Fi, Bluetooth, brightness, volume) and notifications, preventing accidental adjustments and distractions.
iPad Accessibility Settings for Elderly Users
Standard accessibility settings offer powerful customization options for physical and cognitive needs without a complete interface redesign.
Adjusting text size and display zoom
Go to Settings > Display & Brightness > Text Size and drag the slider right to increase text across Mail, Messages, Notes, and other apps.
For even larger text, go to Settings > Accessibility > Display & Text Size and toggle "Larger Accessibility Sizes" for additional size options.
Display Zoom magnifies the entire interface. Go to Settings > Display & Brightness > Display Zoom and select "Zoomed." This scales everything proportionally, though it may reduce how much content fits in one view.
Tony's Tech Installation/Setup →
To increase contrast, go to Settings > Accessibility > Display & Text Size and toggle "Increase Contrast" and "Reduce Transparency" for better readability.
Enabling VoiceOver and voice commands
VoiceOver reads text aloud as you navigate. Go to Settings > Accessibility > VoiceOver and toggle it on. Single-tap to select, double-tap to activate, swipe to move between items.
Siri offers voice control. Press and hold the home button or say "Hey Siri" to call family, send messages, set reminders, check weather, or play music without touching the screen.
Voice Control responds to spoken commands. Go to Settings > Accessibility > Voice Control and toggle it on to speak commands like "Open Mail" or "Go to Home Screen."
How to Simplify iPad Home Screen and Dock
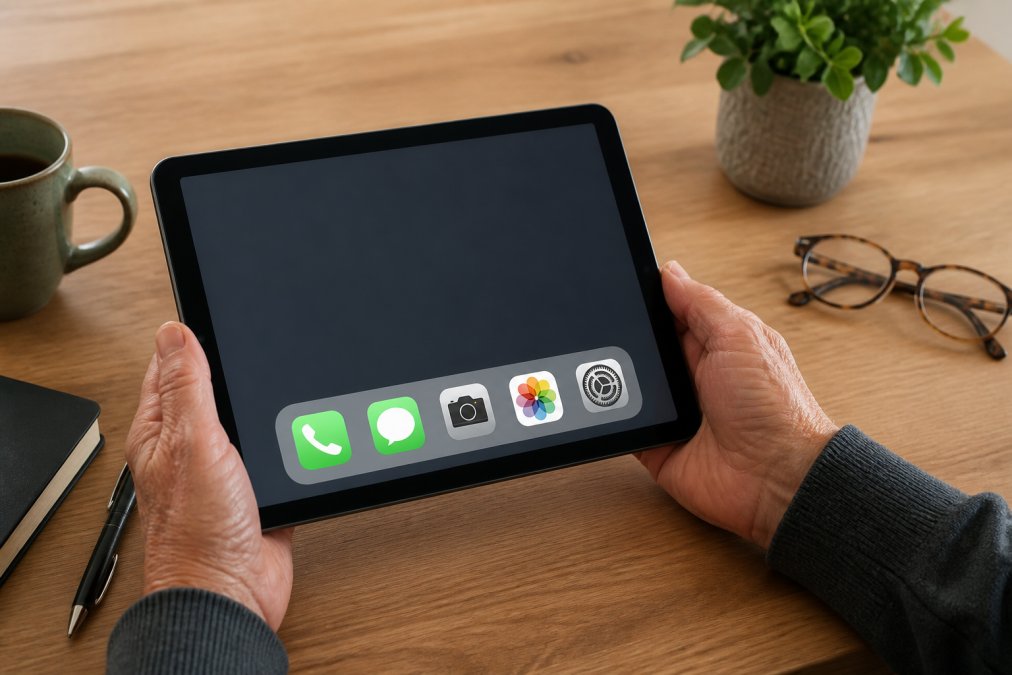
When learning how to set up iPad for seniors, a cluttered home screen overwhelms new users. Removing unnecessary apps and organizing the rest creates a calming, navigable interface.
Removing unnecessary apps and organizing icons
Identify which apps are actually needed. Most people use 5-10 regularly: Mail, Messages, Photos, FaceTime, Calendar, Weather, and News. Everything else is clutter.
To delete an app, press and hold its icon and select "Remove App." This removes the icon but keeps the app in the App Store if needed later. Alternatively, move unnecessary apps into folders.
Rearrange apps by pressing and holding an icon, then dragging it. Place most-used apps in the bottom row and essential apps (Phone, Messages) in the dock for easy access.
Setting up app folders for easy access
Create folders by pressing and holding an app icon and dragging it onto another. The iPad creates a folder and suggests a name. Rename it as needed.
For example, create a "Communication" folder with Mail, Messages, and FaceTime, or a "Photos & Media" folder with Photos, Camera, and Videos.
Limit folders to 5-8 apps each.
Best iPad Apps for Seniors and Daily Use
The right apps transform an iPad into a useful tool for staying connected. Focus on simplicity and reliability with clear, large interfaces.
Managing Notifications and Restricting App Access
Constant notifications distract and create anxiety. Controlling which apps send notifications reduces noise and improves focus.
Customizing notification alerts
Go to Settings > Notifications and review each app's settings. Enable notifications for apps you use regularly; disable them for apps you rarely use.
Setting up parental controls and screen time limits
Screen Time manages app usage and device access. Go to Settings > Screen Time and tap "Turn On Screen Time."
Protecting Your iPad and Getting Help When You Need It
Protect your iPad through physical protection, data security, and knowing where to get help.
Cloud backup and privacy settings
iCloud backup is your insurance policy. Go to Settings > [Your Name] > iCloud and toggle "iCloud Backup" on. Your iPad automatically backs up nightly when connected to Wi-Fi and plugged in.
Remote support options and troubleshooting
When problems arise, Apple's support is accessible through Settings or Apple.com.
| Setup Step | Purpose | Time Required |
|---|---|---|
| Power on and connect Wi-Fi | Enable internet access | 5 minutes |
| Create or sign into Apple ID | Access apps and cloud services | 10 minutes |
| Set up Face ID or Touch ID | Secure biometric unlocking | 5 minutes |
| Enable two-factor authentication | Protect Apple ID account | 5 minutes |
| Enable Assistive Access | Simplify interface for ease of use | 5 minutes |
| Adjust text size and display | Improve readability | 5 minutes |
| Organize home screen and dock | Create intuitive navigation | 10 minutes |
| Customize notifications | Reduce overwhelming alerts | 5 minutes |
| Enable iCloud backup | Protect data automatically | 2 minutes |
Frequently Asked Questions
What is Assistive Access on iPad and how does it help seniors?
Assistive Access simplifies the iPad's user interface by removing clutter and presenting only essential apps and features. It's designed for users with cognitive or motor skill challenges. When enabled, the home screen shows larger icons, simpler navigation, and fewer distractions. This makes it easier for seniors to find and use the apps they need most without feeling overwhelmed by the full iPad interface.
Is an iPad easy to use for seniors?
Yes, an iPad can be very easy for seniors when set up correctly. The large touchscreen, simple gestures, and accessibility settings make it more approachable than many computers. With proper configuration, larger text, simplified home screens, and accessibility features like VoiceOver, most seniors can learn the basics quickly. The key is taking time during initial setup to customize the device to match the user's comfort level and needs.
How can I restrict iPad settings to prevent accidental changes?
Use Screen Time and parental controls to lock down settings. Go to Settings > Screen Time > Content & Privacy Restrictions, then set a passcode. This lets you restrict app installations, prevent settings changes, and limit access to certain features. You can also use Guided Access (triple-click the home button) to lock the iPad into a single app temporarily. These tools prevent accidental deletions or unwanted configuration changes.
What apps should seniors use on iPad?
Start with built-in apps: FaceTime for video calls, Mail for email, Photos for organizing memories, and Apple News for reading. Add large-text friendly apps like Magnifying Glass for close reading, Reminder for tasks, and Calendar for appointments. Consider accessibility-focused apps like Voice Memos for recording notes. Avoid cluttering the home screen, stick to 5-8 essential apps that match the user's daily routine and interests.